Saturday 31 December 2016

New year wish card!!

Hello friends !!
I am Aarti here with my first post of greeting card 

Creativity is at its peak when an artist thinks and works from the heart. On this grand platform TeachingAids blog, I present you my creations that is very close to my heart !!!

Hope you all enjoy and learn from some of the artistic creations. Step by step process is mentioned
below. Don’t forget to have fun while you do it!!

A special note of thanks to Vikas Ji for giving me this splendid platform.

All the best!!!


STEPS

Step -1: Paint the white sheet with the green and yellow shades, try free hand brush strokes.


Step -2: Using black marker draw leaves as shown in the picture below.


Step -3:Cut  the leaves and slightly roll them backward

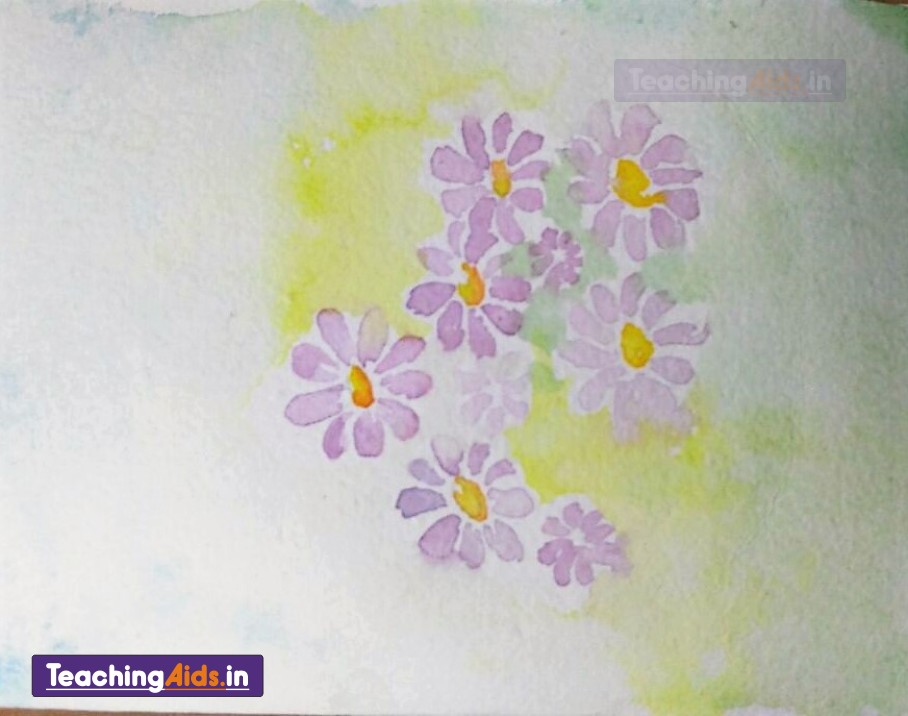
Step -4:Paint the background for the card with water colour on a good quality handmade water colour paper


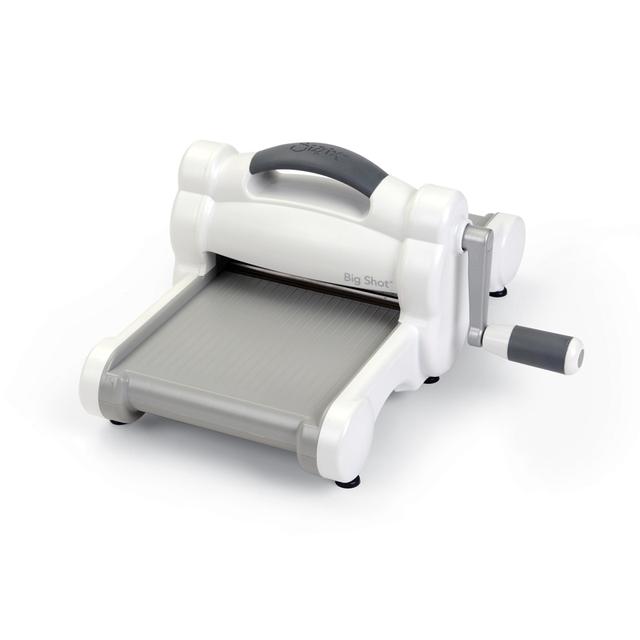
Step -5 : Use Sizzix Bigshot machine and cut the roses by using Sizzix Bigz Flower 3D die


Step -6:Colour them with the pink ink on both sides

Step -7:-Roll the die cut of rose by using tweezers and give them the shape of rose .glue the end point of the petal.


Step -8:  Give the edges of roses and sprinkle the sparkle on the edges of rose.


Step -9:  Prepare the base with card stock paste them with double tape to give 3d look


Step -10 :Cut the butterfly and distress it with yellow ink.


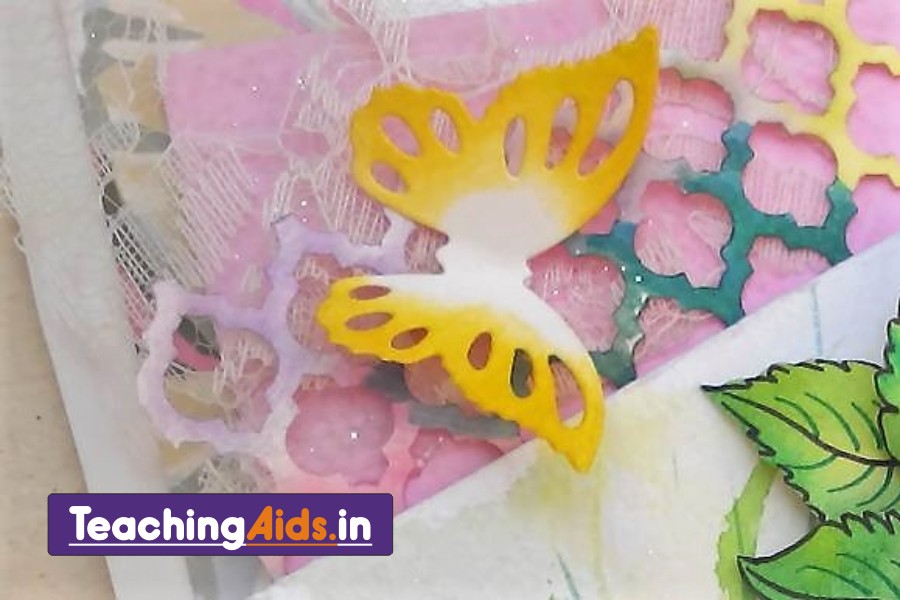
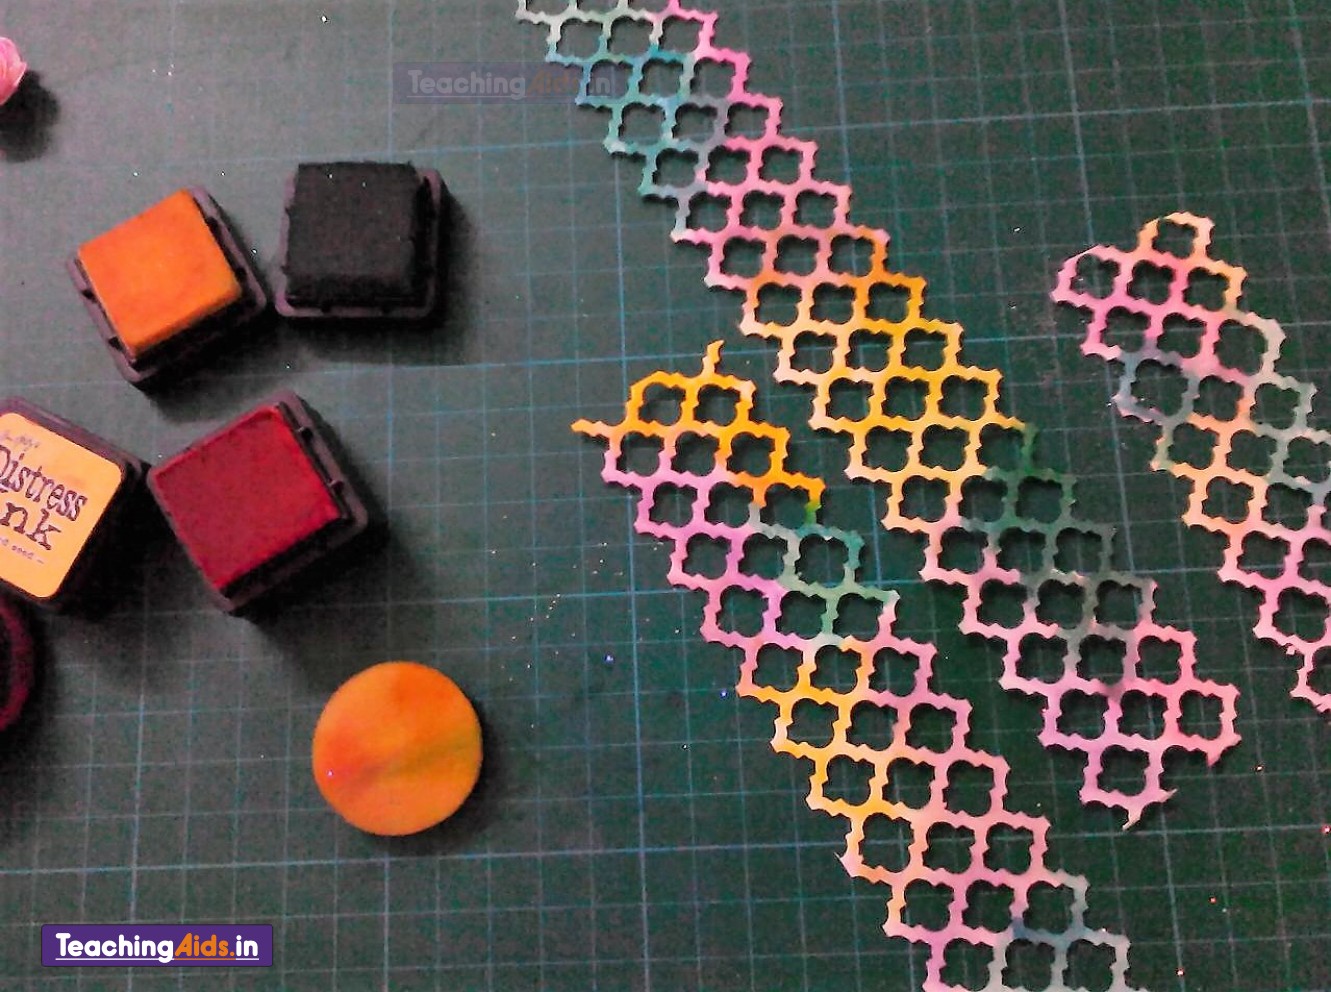
Step -11: Cut the net using die cut and distress


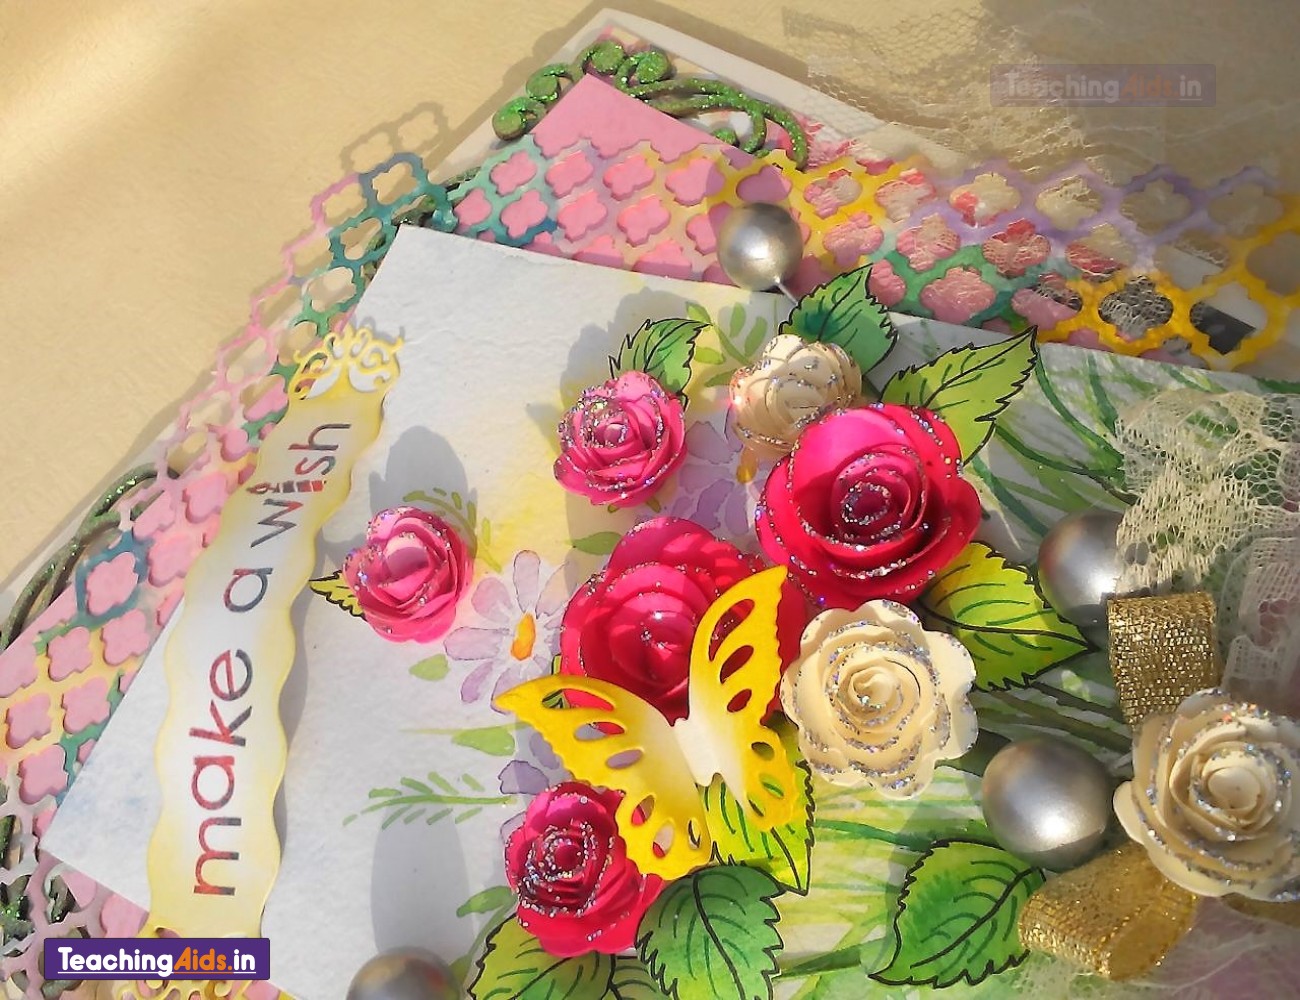
Step -12: Now everything is ready to be pasted.

Step -13: Paste all the things made and embellish the card.

Step -14:  Cut the paper using die Sizzix Thinlits Die Set 3PK - Labels, Long - 659131 and  stamp using Sizzix Clear Stamps - Birthday Phrases - 656120 for the message.
Gift it to a loved one!!


Materials I have used :

Sizzix Bigz Die - Flowers, 3-D - 656545


Sizzix Thinlits Die Set 4PK - Winged Beauties - 659707


Sizzix Clear Stamps - Birthday Phrases - 656120


Water colour
Handmade paper
Artist water colour
Green , yellow and pink ink
White sheet
Red,blue,green,purple Distress ink
Black waterproof marker
Golden ribbon
White net ribbon
Chip board cutouts
Glitter dust of different shades
Double tape
Glue gun
Fevicol
Paint brushes
Scissor

Wishing you a very happy new year!! And a fabulous crafting this year!!!

Saturday 24 December 2016

Winter Wonderland Wreath!

Hello to all crafty peeps!

                                    I am back again with my next Inspirational post! And I am super excited to share my new Winter Wonderland Wreath with all of you today!
Some of us have really great intentions to make handcrafted decor to adorn our home/schools/classrooms. So, to help you out, I'm sharing a wreath idea now! Super easy!


  I love the blue and silver touch to signify the winter colours.

I can't stop looking at the bottle brush trees which is handmade!
I really love how these foam flowers and garden green leaves complimenting each other.

How I did......

Firstly, I started with a heavy cardboard and cut a big circle and cut it from the centre using my craft knife according to the size of the plastic plate.


Then I wrapped the circle with my yarn which is little shiny and soft.
Continued wrapping the wreath covered with yarn, glued the ends on the back side. I covered the top too with yarn and before covering it I created holes at the top to tie my stone string in between!


I began with my glittered foam flowers. Die cut some snowflakes out of blue glittered foam sheets and embossed it from the plain side using embossing tool as shown in the pic.

There is a surprise element.......I die cut a set of 6 petals to create one white foam flower from the part of  Reindeer die.

Then I distressed the edges using distress ink. And I embossed my petals and glued them on a hand cut circle to create the flower, shown in the pic. I made six sets of these flowers.


Isn't it amazing how creatively we can use these little dies !!!!


     Let's get started with the plastic plate.
I coloured it with my metallic pearl colours and added different blue glitter dust to create the snow background shown in the pic. Now wrapped the edges with a white yarn and glued it on my circle centre.


Now the fun part begins! Off to create the winter wonderland scene!
I trimmed some shiny white yarn in very small pieces and adhered them at the bottom of the plate using fevicol.  I die cut a cute deer out of polka dotted glitter foam sheet.

This is very easy to create bottle brush trees. Just follow these steps:


a) Start by wrapping yarn around your fingers in different sizes and tie the end. Gently slide the yarn from your fingers and spread out.
b) Cut a piece of wire or you can use toothpick too according to their heights. And insert in the middle of each yarn pieces, shown in the pic.


c) Use your scissors to thread through the loops on each side of the yarn wrap. Cut the loops so that the yarn is fringed on the ends.


d) Trim the yarn in a tree shape. Cut off any excess of wire at the bottom of the tree and placed a stone at the top using glue.
e) Now placed my bottle brush tree on my plate using craft glue. You can create a huge crafty forest display with this easy technique!!!


Now die cut some leaves out of silver coloured glitter foam sheet and glued all the leaves and flowers to create the wreath using my hot glue gun.


In these close-up pics, you can see the diamond glitter dust to create the snow texture on the bottle brush trees.  Die cut a snowman from a white foam sheet and created a designer hat and muffler out of striped glittered foam sheet and adhered it on the snowman. How cute he is looking!!!


Then I added jingle bells string in a silver thread.


I covered the top using yarn and tied a net fabric bow and adhered a jewelled stone in the centre.


At the bottom also I added a string decorated with bling and stone embellishments.


I covered the back too with a paper doily!


Hope you all enjoyed this beautiful wreath!!!

Here is the supply list available at the TeachingAids store: 


http://www.teachingaids.in/product/sizzix-bigz-die-reindeer-658738- I used the semi-circle scalloped die for making my foam flowers!


Other Supplies used:
Cardboard-400 gsm;  Silver, blue and designer glitter sheets; white foam sheet
Embossing pad and embossing tool
Transparent plastic plate
Fevicryl Pearl metallic colours
Fabrica white colour 3D cone liner
Hot glue gun
Blue, white and mixed colourful blue yarn, fevicol, craft glue, fabric glue; glitters, diamond dust; tooth pick; wire; two-tone coloured string; blings; jewelled stones, net fabric

Will back again with more exciting news and results!!!!

Happy crafting!

Wishing you all Merry Christmas and Happy New Year 2017!!!!